Episodes 2-3:
Recca Vs Fuuko Cels
Series: Flame of Recca
All of these cels are in the order that they appeared on screen, so this can work as a
partial recap of the fight. Hopefully I will extend the boundaries eventually by coming up
with new first and last cels. I'm almost surprised I don't have one of Mikagami watching the
end of the fight. ;)
Though a lot of the art for these first episodes was (*polite words*) flawed, some of the
art during this particular fight and elsewhere is gorgeous. Particular during the fights
that happen at night (or otherwise in the dark, eg parts of Kage's first appearance). I love
the deep, rich, colours. And the more I think about it, the more at risk I am of winding up
with too many backgrounds from those fights. Hastily moving onward...
My collection of Recca Vs Fuuko cels isn't immense like my collections of, say, Mikagami
Vs Mokuren or Mikagami & Recca Vs Neon & Miki cels, but I thought it was nice enough to
warrant its own little section. At least for these backgrounds, particularly for the Domon
& rag doll Yanagi cel. I LOVE those sakura!
All of these cels occur near the beginning of the series, during the first fight (besides
against herself) that Kage arranges to test her little Recca-chan, within these episodes:
Episode 2: Flame Against Fuujin/Dangerous Temptations!!
Episode 3: The Swordsman of Water/Fangs of Revenge!!
|
Episode #: 3
Stats: 1 layer, A6
Sketches: 1 matching, unstuck
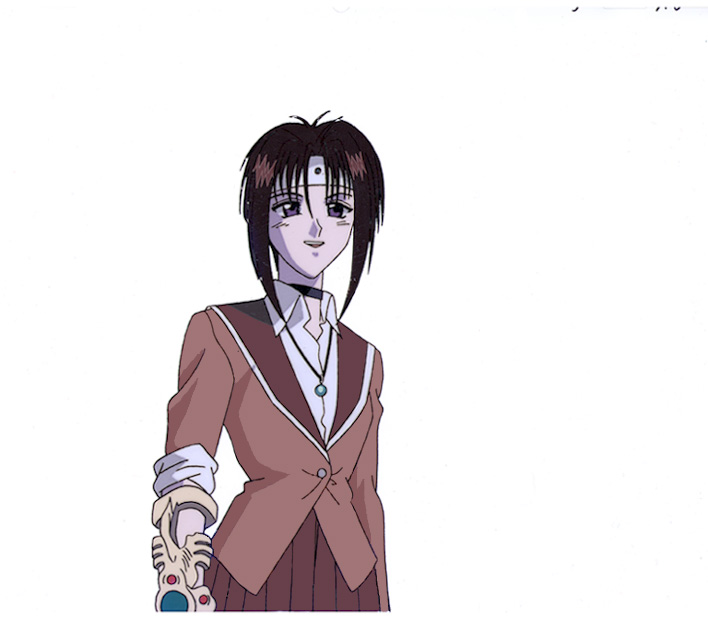
Comments: Fuuko, possessed by the Fuujin. At the very very beginning of episode
3. After the titles you see Recca being thrown back and skidding far across the ground like
a good little fighting series character. When he stands up again, Fuuko does a cute little
schoolgirl smile and sigh (here) about it. She's convinced that she will win, and immensely
enjoy doing so. You can see most of the Fuujin, and the stone Kage inserted to control
Fuuko, in this cel. There is a little paint chipping, mostly in Fuuko's hair. |
|
Episode #: 3
Stats: Horizontal pan. 2 layers, unstuck, A1 KEY END/B1 KEY
Size: 11.5" wide x 9" tall (cel), 14.25" wide x 10" tall (background)
Sketches: 2 unstuck, matching, layout sketches
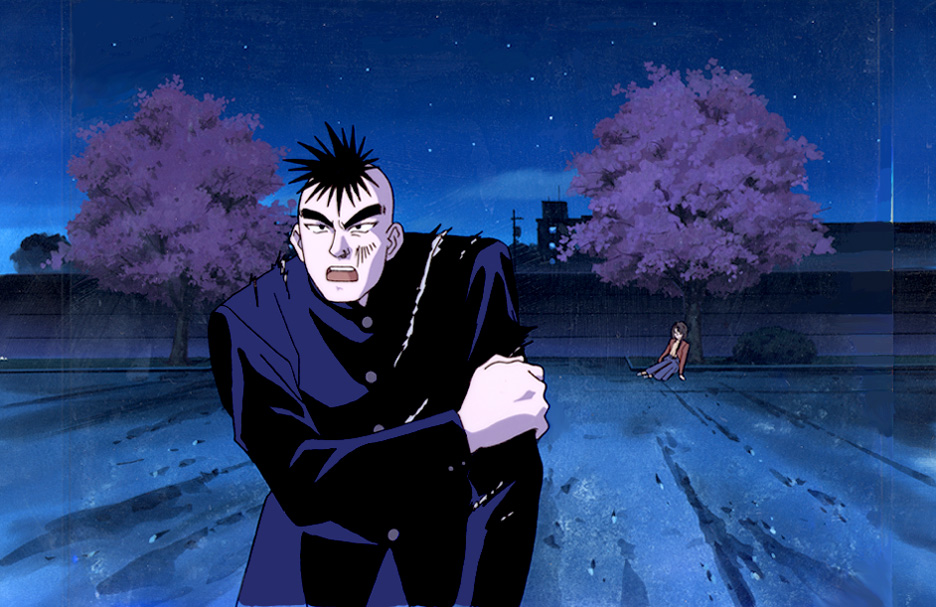
Comments: Domon and Yanagi, immediately after the above cel. Yanagi is still an
unconscious rag doll leaning against the tree. Domon is practically hyperventilating from
his part in the fight during episode 2, plus he's worried that Recca will lose and Fuuko
won't regain herself as a result. There are two layout sketches. One of the full scene, and
one of the slightly larger A layer (Yanagi) plus the background. The latter is the pan
layout sketch, and indicates that the scene pans left to right. I bought this one not only
for the moment within an intense fight, and for having some worthwhile Domon cels, but also
because I think the background is absolutely beautiful. Sadly even the loveliest backgrounds
like this one wind up with lines, crud, and fuzzing when I scan them, *sniffle*. |
|
Episode #: 3
Stats: Horizontal pan. 1 layer, A4 KEY
Size: 15.25" wide x 9" tall (cel), 15.25" wide x 10" tall (background)
Sketches: Unstuck layout sketch, unstuck genga copy
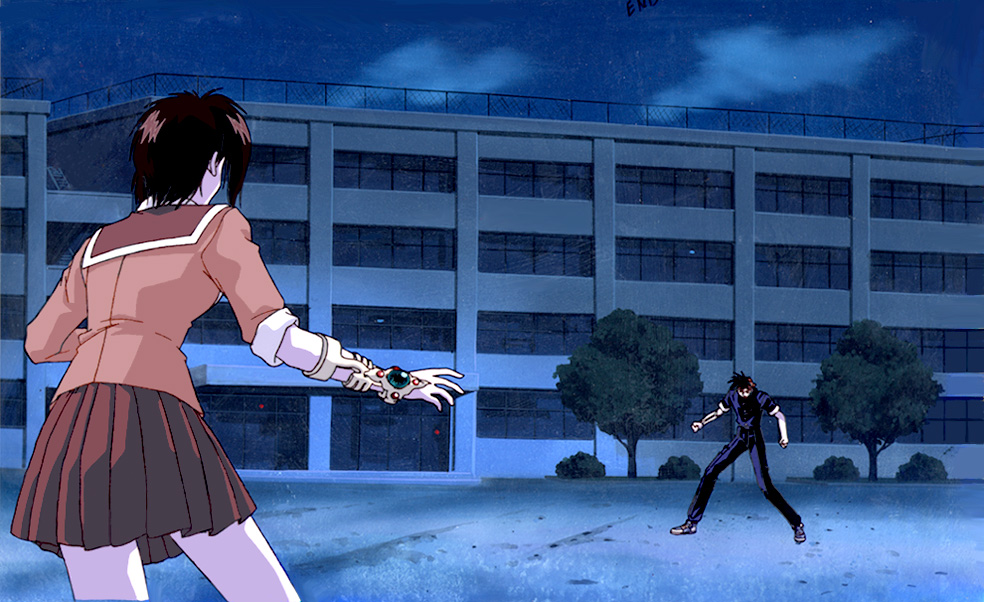
Comments: Recca and Fuuko finally started fighting seriously, flame against wind,
after Kage pointed out to Fuuko that she would have a 50/50 chance of winning. They were
fairly evenly matched for a short while. However, at this moment, Recca's flame had finally
broken through the Fuujin's wind to reach Fuuko for the first time. She is a bit shaken,
breathing hard, and bracing up to face him again. The shot pans across Fuuko (or her back,
anyway), and over to Recca. I trimmed a little over 1/2" inch off both sides while scanning
this, but only the background lost a little (more windows, ground, and sky). |
|
Episode #: 3
Stats: 1 layer, A1 KEY END
Sketches: 1 unstuck layout sketch of Fuujin
Background: Unstuck, matches with layout sketch ;)
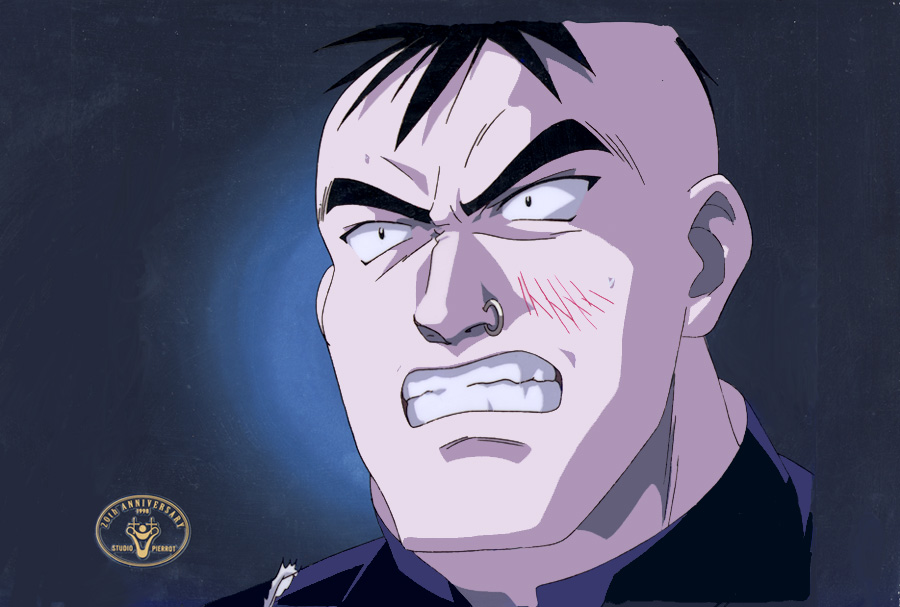
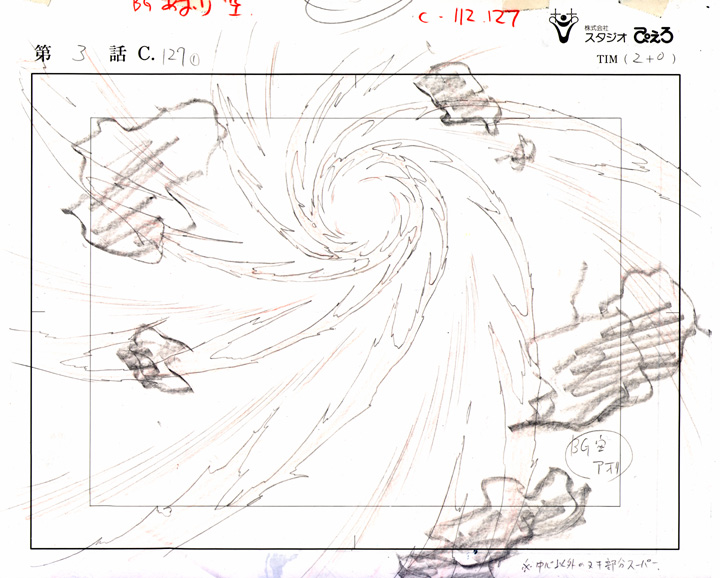
Comments: Domon. Fuuko is in the whirlwind she created with the Fuujin, and Kage
just finished saying that she won't be able to survive in there for more than a couple of
minutes. Recca and Domon have angry cringy reactions, here's Domon's. This cel came with a
layout sketch that doesn't match it, but it is from the same episode. It's sad that this
likely happens because the cels were discarded for not seeming desireable (says she who
would buy a cel of Mikagami's blood splatters if she could find one, heh). I am including a
scan of the Fuujin layout, which matches up with the background on this cel.
Fuujin Layout Sketch |
|
Episode #: 3
Stats: 1 layer, B15 KEY
Sketches: 1 matching, unstuck, + 3 layout sketches
Background: Likely matching, unstuck
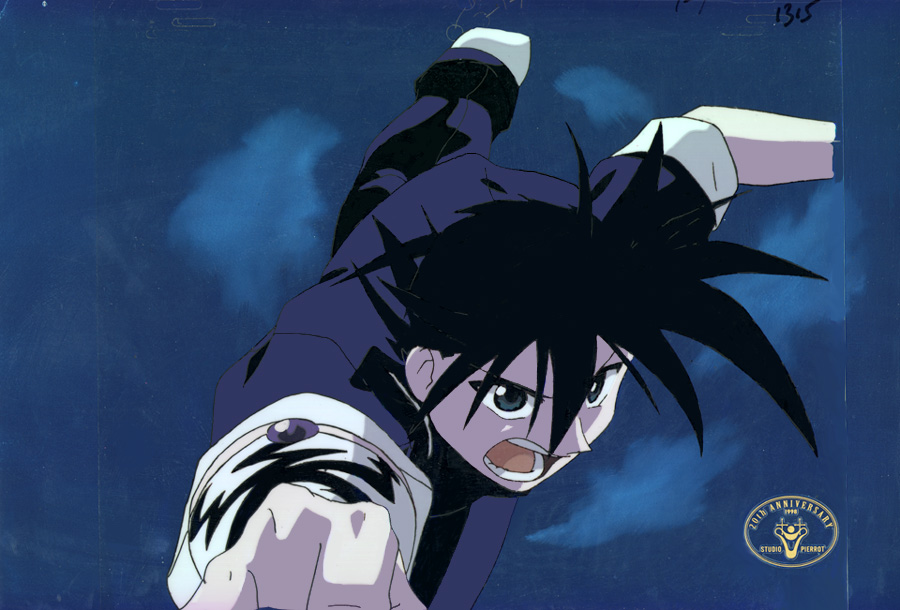
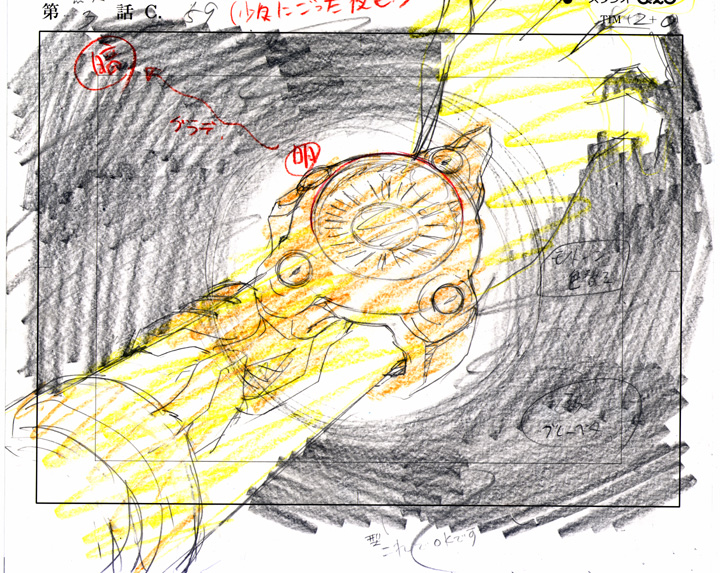
Comments: Recca, going in to the whirlwind. Lunging downward toward Fuuko and the
Fuujin. This is a strange set-up. The cel came with 3 layout sketches. One looks like Recca
a little further down the whirlwind. Another is his cap, just as it enters the whirlwind.
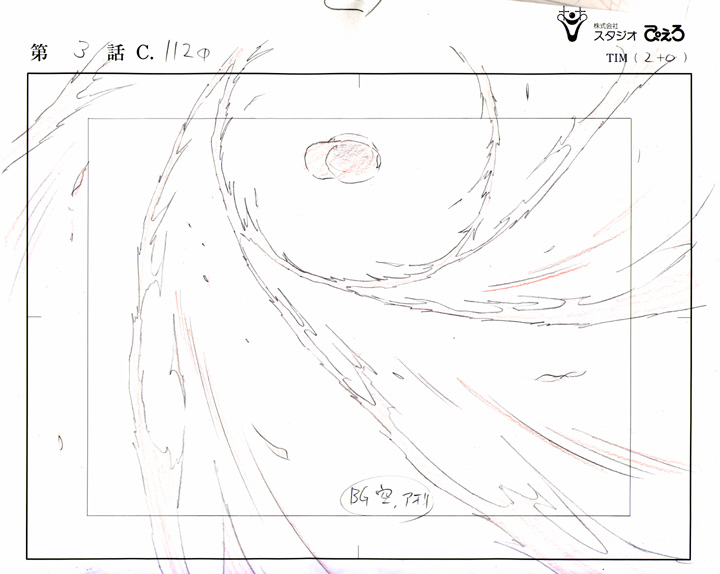
(Which is what had pointed out to him that he could descend into its center.) The last looks
like the whirlwind or flame with clouds, and might well be a layout sketch for what would be
the A layer of this cel. The first and last sketches were assigned the background that this
one has. All you can see on screen, though, are flames in front of Recca (FX layer, I don't
have it) and the whirlwind behind him. Hmm... I'm including scans of the cap and whirlwind/
flame sketches.
Cap Layout Sketch
Fire/Wind Layout Sketch |